What to print
Your First 3D Prints
The printer works. The novelty of the sample model wore off in an hour. Here is what to make next, in the order that teaches you the most for the least filament.
By Scooter M. · Published · Last reviewed
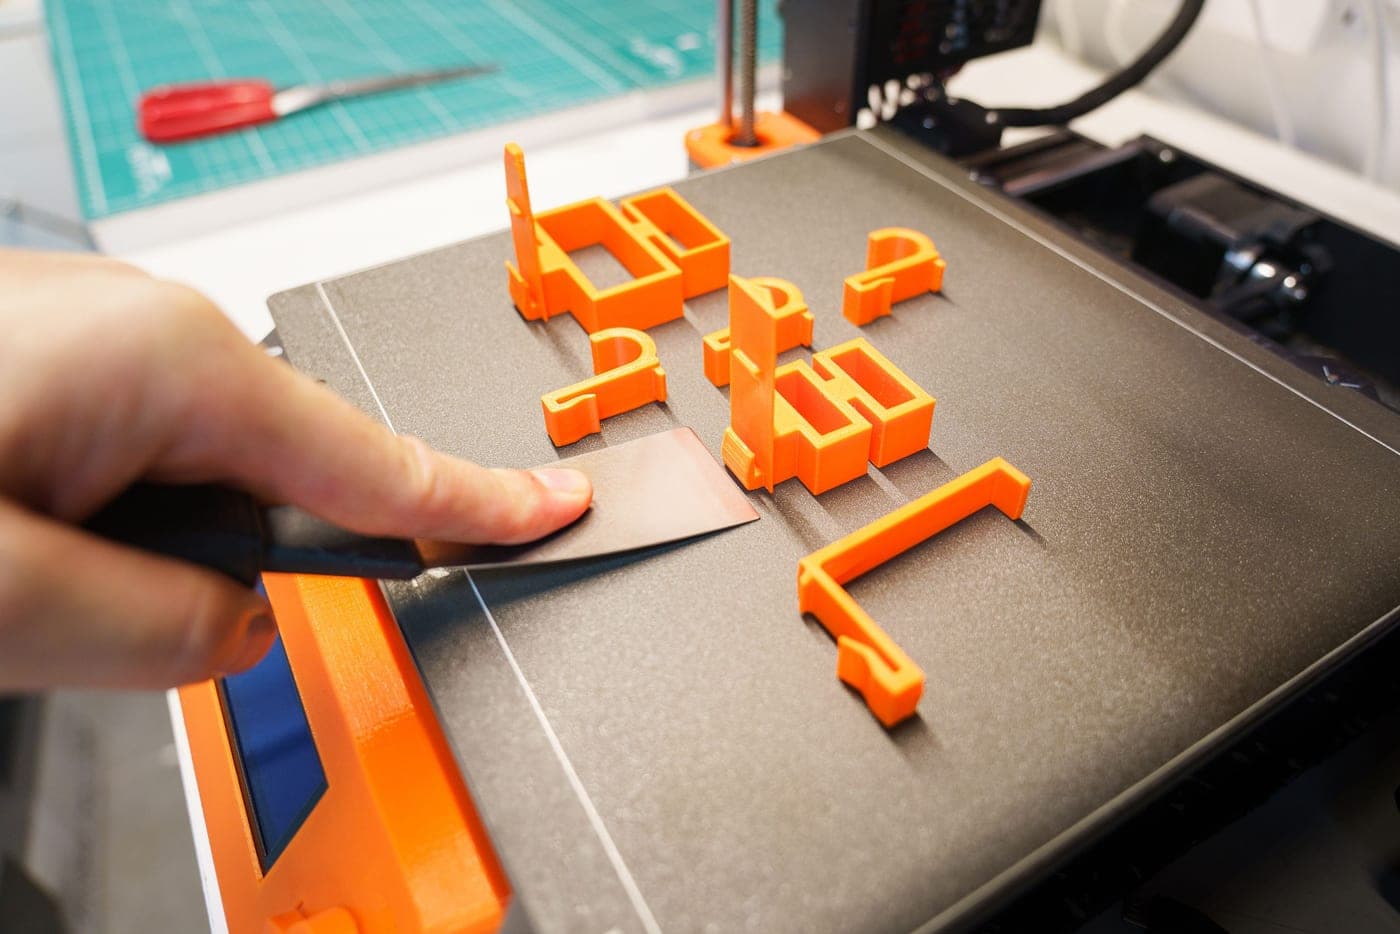
Print a Benchy, then print something that solves a problem in the room you are sitting in. That is the whole strategy. The Benchy takes about an hour, uses a few grams, and tells you more about your machine than any calibration cube. The second print is what keeps you interested, because a printer that makes useful objects gets used and a printer that makes test shapes gets shelved.
What makes a good first print
Four things, and almost every recommendation you will see is really one of them.
It is quick. Under two hours. A first print is a feedback loop, and a fourteen-hour model that fails at hour eleven teaches you nothing you could not have learned in ninety minutes.
It has a flat bottom and no supports. Supports are a second skill. Learn to get a clean first layer before you learn to remove scaffolding from an overhang.
It fails visibly. A good early model shows you its problems — a bridge that droops, a wall that separates — rather than hiding them under a textured surface.
You actually want it. A cable clip for the desk you are sitting at beats a decorative vase you will put in a drawer.
Where models come from
You do not need to learn 3D modeling to use a 3D printer, and most people never do. There are large libraries of free models, and the skill worth learning in week one is not modeling — it is telling a good model file from a bad one. A well-made model has been printed by other people, has photographs of real prints rather than renders, and says what settings it wants. A bad one is a render, a description, and a mesh with holes in it that your slicer will quietly mangle. Where to download models covers how to tell them apart.
What not to start with
Anything articulated, anything with tolerances that have to be right first time, anything above about 150 mm tall, and anything you have promised to somebody by Friday. All four are perfectly printable and none of them is a first-week project.
That last one is really a question about time, and it has a page: how long a 3D print takes covers what actually drives the estimate, why a printer rated at twice the speed is not twice as fast, and the settings that genuinely save hours.
How this page is funded: the buy links below are affiliate links. If you buy through one we earn a commission, at no extra cost to you. It does not change the order of the picks or a word of what we say about them. Full disclosure.
Everything in this section
All First Prints pages
Every tile carries its top pick, a live price and a buy link, so you never have to open a page to find one.
Guide
What to 3D Print First
Ten first prints ordered by what each teaches per gram, starting with the Benchy.
Read the guide
Guide
Easy First 3D Prints
How to recognize a forgiving model from its shape, plus twelve that are hard to get wrong.
Read the guide
Guide
Where to Download 3D Models
The four libraries worth using, and how to spot a bad model before it wastes your filament.
Read the guide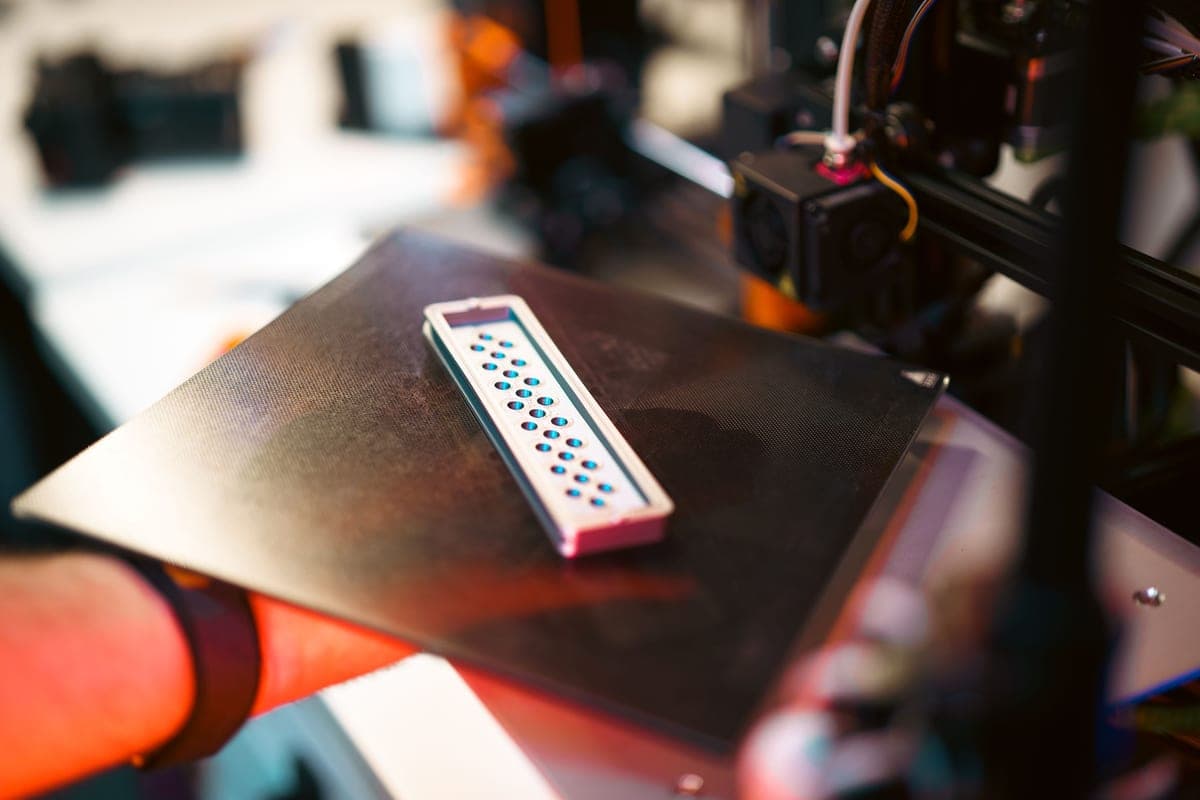
Guide
Calibration Prints and the Benchy
Which calibration prints tell you something useful, and why not to print them all.
Read the guide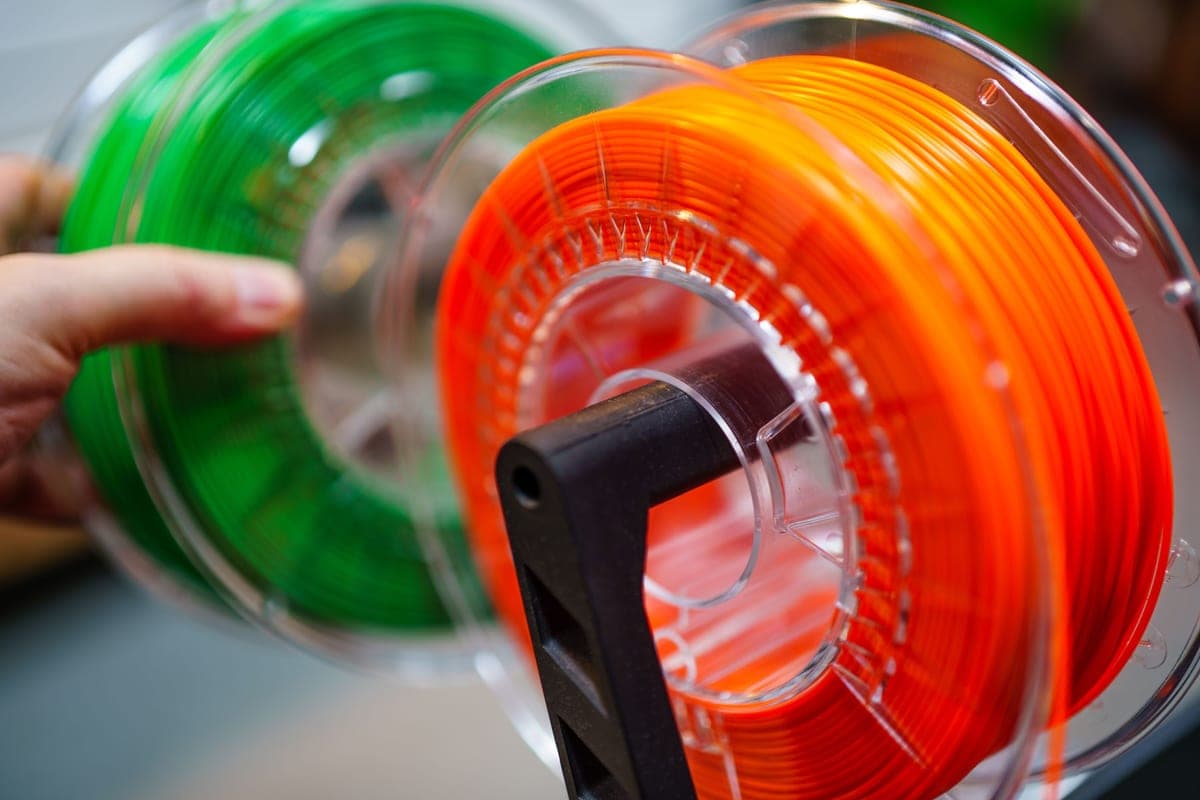
Guide
3D Printing Projects for Beginners
Fifteen projects grouped by the problem they solve, from month one to month three.
Read the guide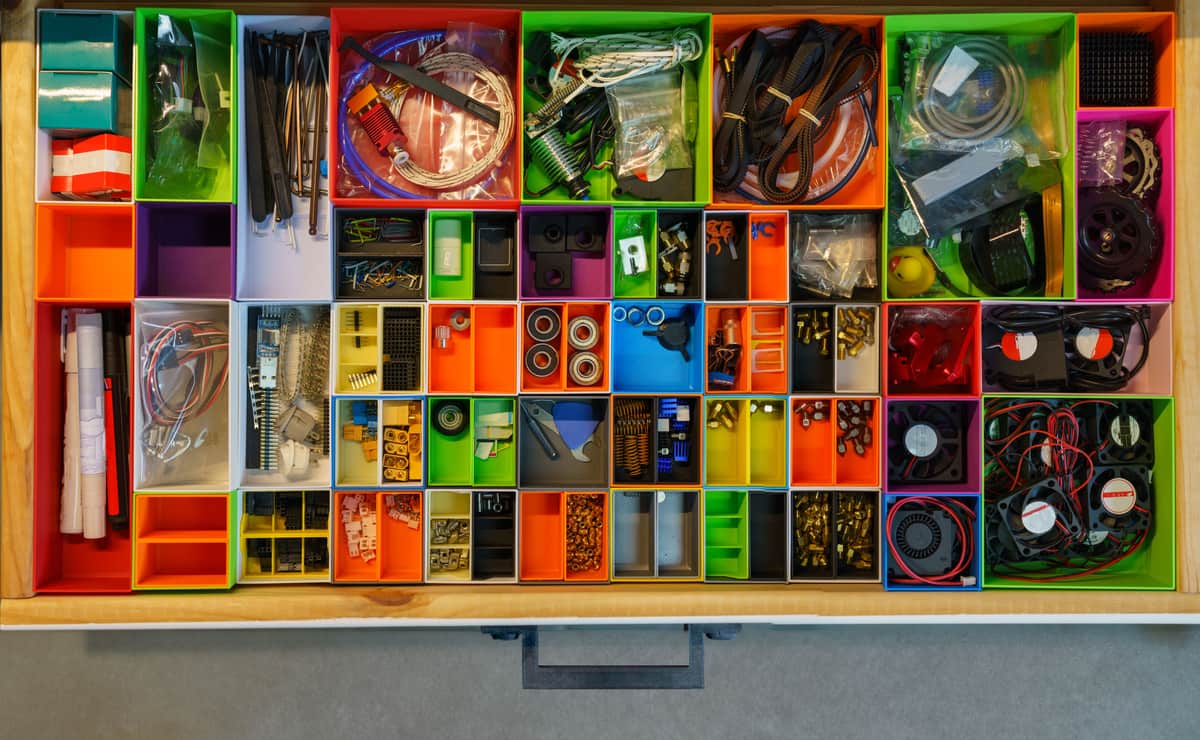
Guide
How to 3D Print in Multiple Colors
Three ways to get multiple colors, including the free one, and the settings that control waste.
Read the guide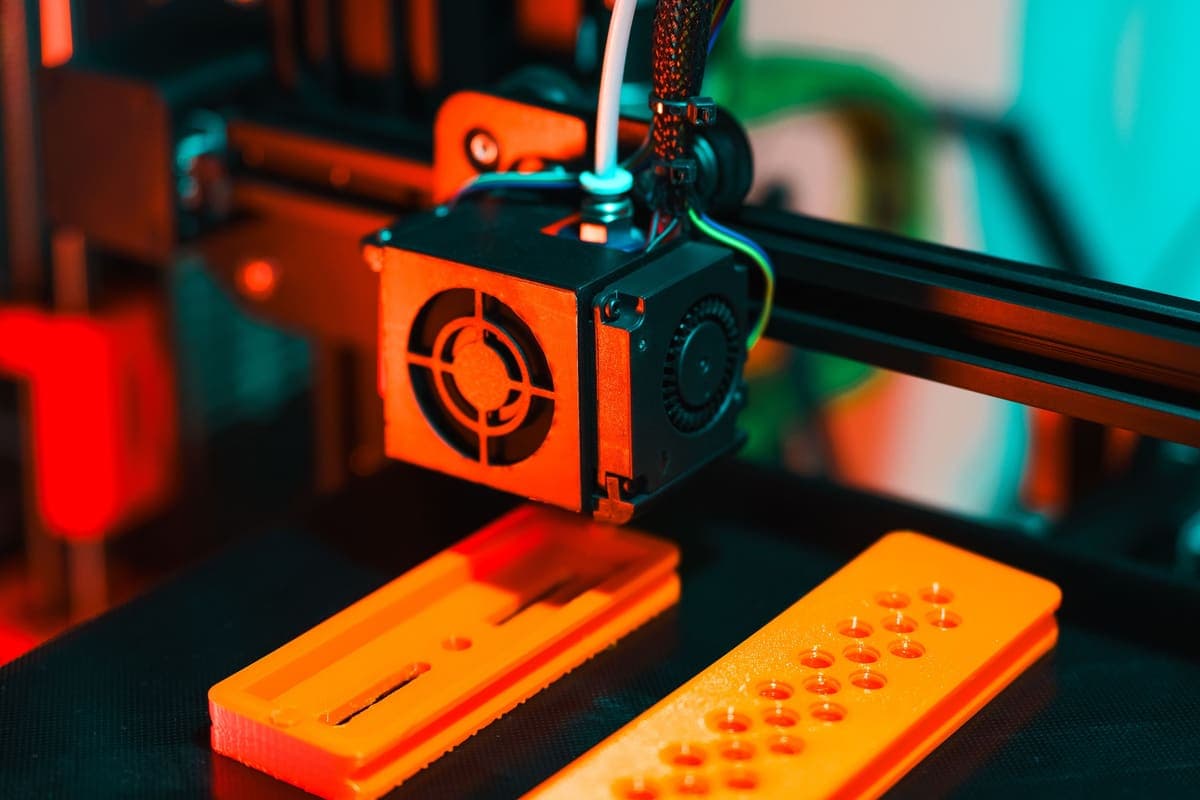
Guide
How Long Does a 3D Print Take?
What decides how long a print takes, why a 500 mm/s machine is not twice as fast as a 250 mm/s one, and the settings that genuinely save hours.
$249.00 - Check price on Amazon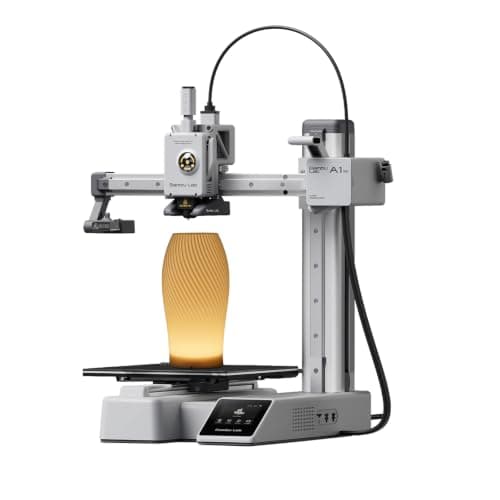 Featured: Bambu Lab A1 mini
#ad Price as of October 19, 2026, from Amazon. Prices change. How we make money.
Read the page
How to read a print time
Your slicer estimates time and filament weight before it sends the file. Both numbers are estimates and both are useful. Time scales mostly with height and with how much solid material is inside the model — a tall thin object takes longer than a wide flat one of the same weight, because the printer has to lift and travel for every layer. Weight is what tells you the cost, and it is nearly always less than people expect.
Two settings change the numbers more than any other. Layer height trades time against surface finish, and the default is usually right. Infill — how solid the inside is — is the one beginners overspecify. Most decorative objects are fine at fifteen percent, and the difference between fifteen and fifty is hours and grams for a strength you will never test.
When a print fails halfway
It happens, and it is rarely mysterious. A print that separates from the plate mid-job is the same bed adhesion problem as one that never started, only slower — see the bed adhesion page. A print that turns into a bird’s nest at a specific height is usually a model problem or a support problem. A print that simply stops is usually filament: a tangle on the spool, or a run-out the machine did not notice.
After the first week
The natural next step is a second material rather than a second machine. PETG opens up parts that live in a car or outdoors, and the PLA and PETG comparison is the honest version of what changes. After that, multi-color is the upgrade most people want, and on most printers it can be added later — which is exactly why we tell first-time buyers not to pay for it up front.