Getting it working
Setting Up Your First 3D Printer
Almost every top result for a first-week problem is written by a company that sells printers. This section is not. Fixes are ordered cheapest and most likely first.
By Scooter M. · Published · Last reviewed
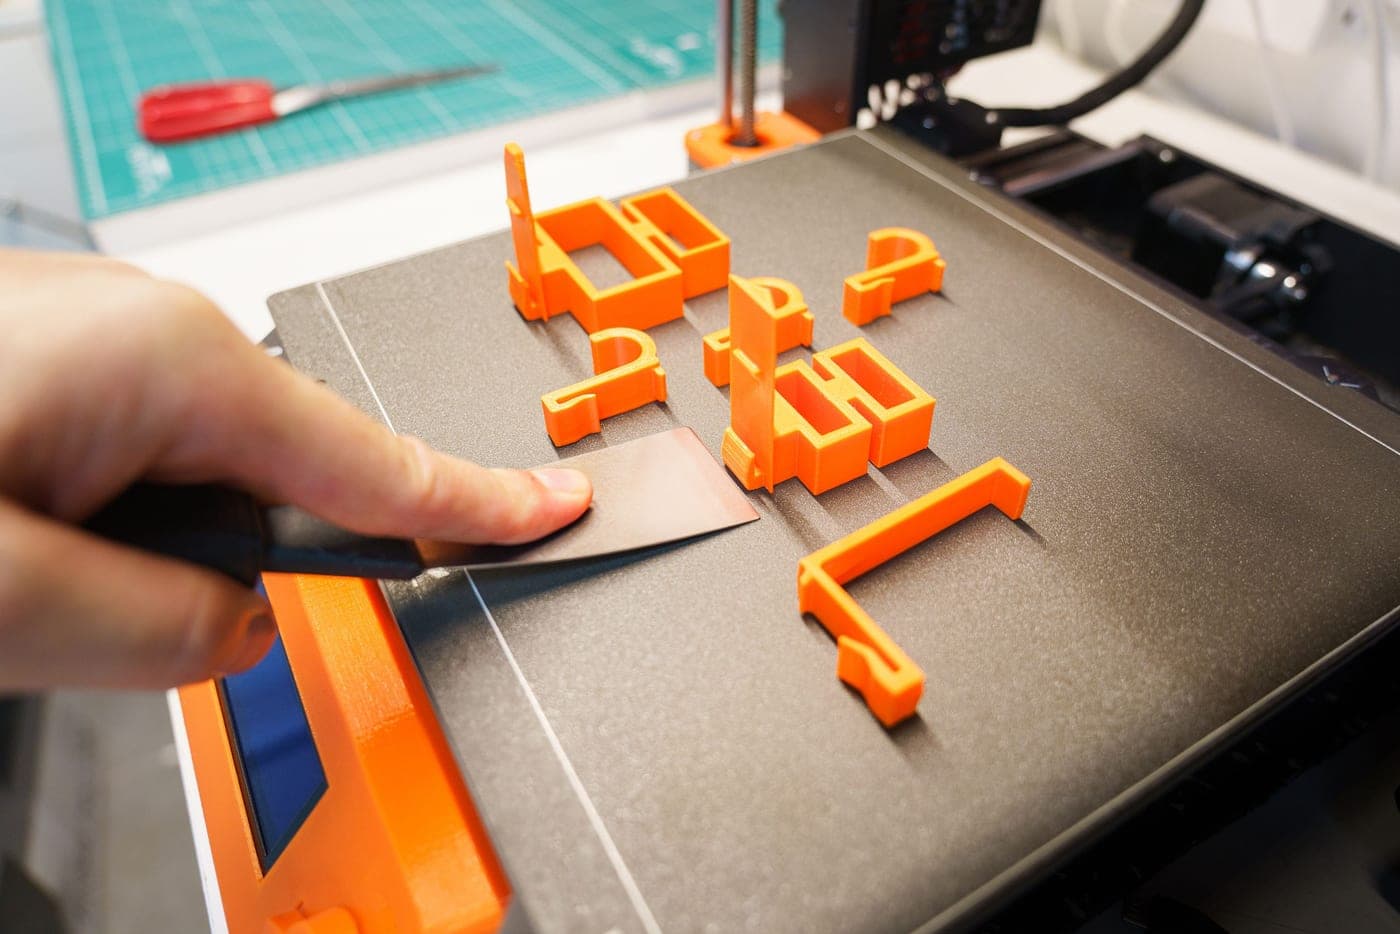
The box arrived. Here is the honest version of the next two hours: a current auto-calibrating machine takes roughly fifteen minutes to assemble and start, and the guides consistently report that range. The first print usually works. The second one is where people meet their first real problem, and that problem is almost always the first layer.
Why this section exists
Search for any first-week problem and count the results that belong to a company selling printers. It is most of them. A manufacturer explaining why your print failed has an obvious interest in the answer not being “the printer,” and that shapes what gets written — not dishonestly, but in a direction. This section has no printer to sell you. It orders fixes by what is most likely and cheapest, which is frequently “wash the plate” and almost never “replace the hot end.”
The order to do things in
Put it somewhere sensible first. A flat, solid surface, away from a draft, with room to open the front. A printer on a wobbly folding table produces artifacts you will spend a week blaming on settings. A printer under an air-conditioning vent produces warped corners for the same reason.
Run whatever calibration the machine offers, once. On a modern machine this is a menu item that takes a few minutes and does bed mesh, Z-offset and flow. Do it before your first print, not after your first failure.
Print the file that came with it. The bundled model is pre-sliced with settings the manufacturer knows work on that machine. If that fails, the problem is mechanical or environmental, which is far more useful information than a failure of a model you sliced yourself.
Then change exactly one thing at a time. The most common way a first week goes badly is changing four settings between prints, getting a better result, and having no idea which change did it.
The two things that go wrong
Nearly every first-fortnight failure is one of two problems wearing different clothes. Either the first layer is not sticking — a plate that needs cleaning, a Z-offset a fraction too high, or a draft — or the filament is not flowing as expected, which is usually moisture or a partial clog. Everything on the pages below is one of those two, traced back to its actual cause.
If you have not bought a machine yet and this section is putting you off, are 3D printers hard to use is the honest answer: most of what used to be difficult is now automated, and what is left is a fortnight of judgement rather than a technical skill.
The two flow failures have their own pages, both ordered cheapest and most likely first: a nozzle that has stopped extruding and fine hairs strung between the parts of a model. They share a root cause more often than people expect, which is why both start in the same place.
How this page is funded: the buy links below are affiliate links. If you buy through one we earn a commission, at no extra cost to you. It does not change the order of the picks or a word of what we say about them. Full disclosure.
Everything in this section
All Setup pages
Every tile carries its top pick, a live price and a buy link, so you never have to open a page to find one.
Guide
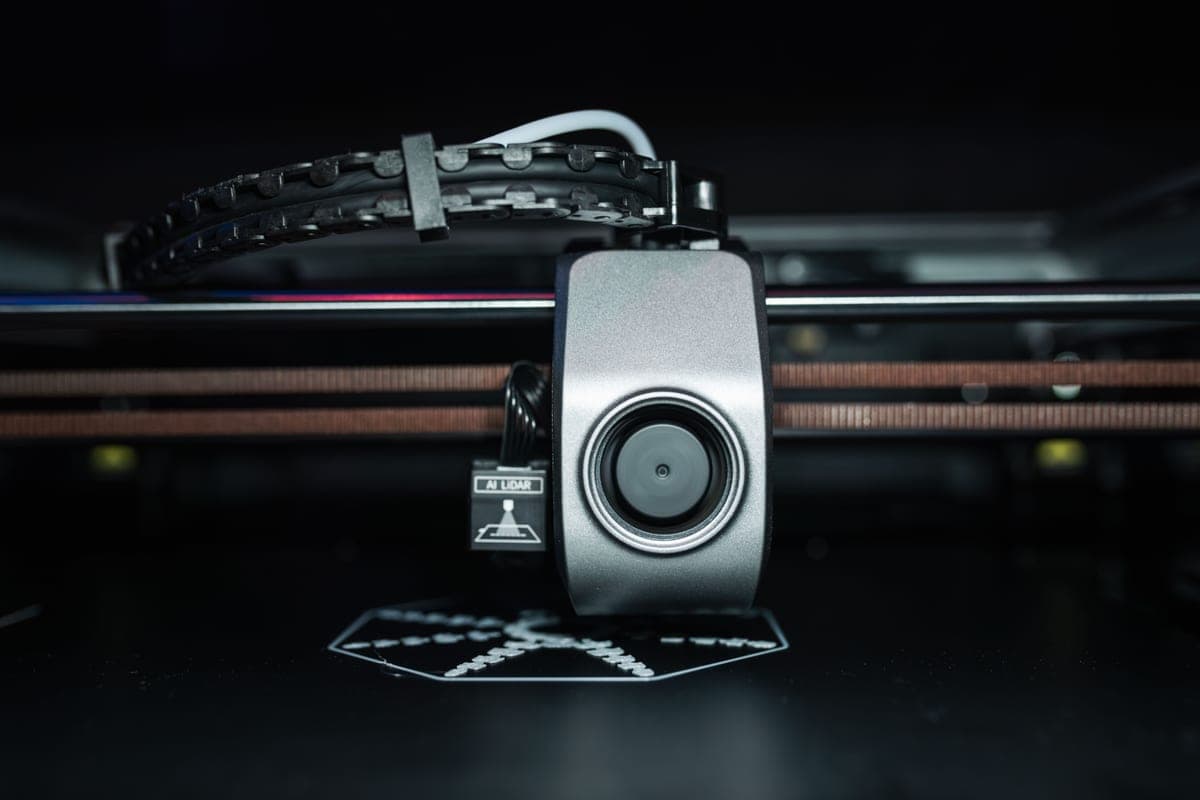
Your 3D Print Is Not Sticking to the Bed
The fixes ordered cheapest and most likely first, with per-machine and PETG sections.
Read the guide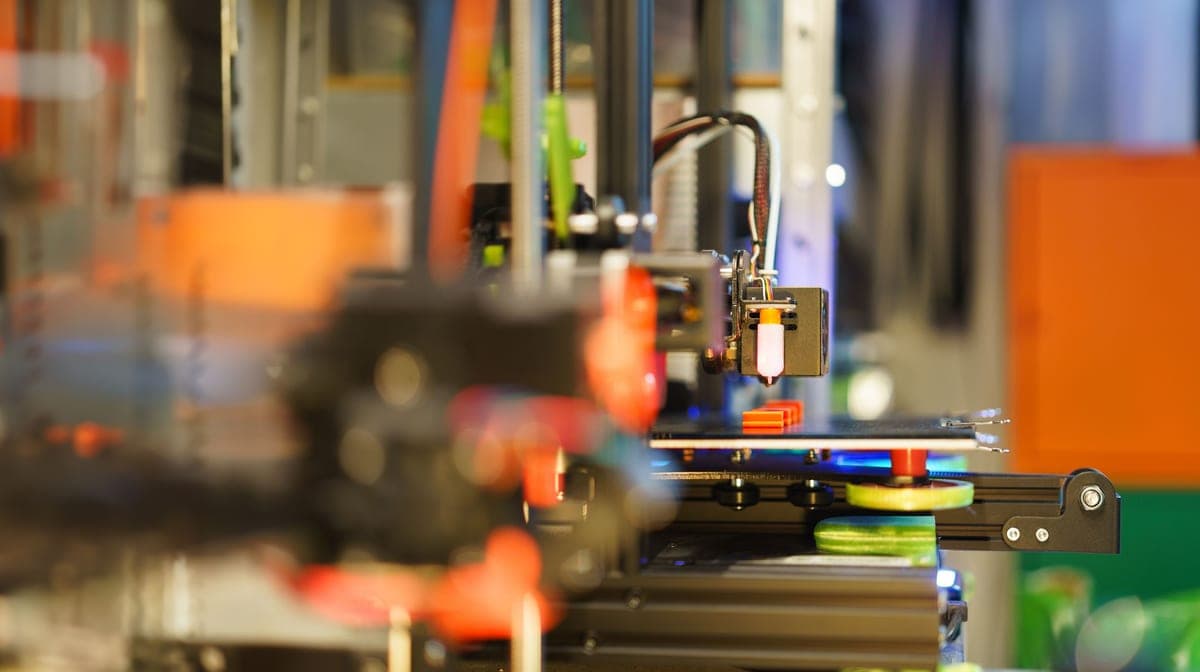
Guide
Setting Up Your First 3D Printer
The first two hours in order, including the one rule that prevents most first-week confusion.
Read the guide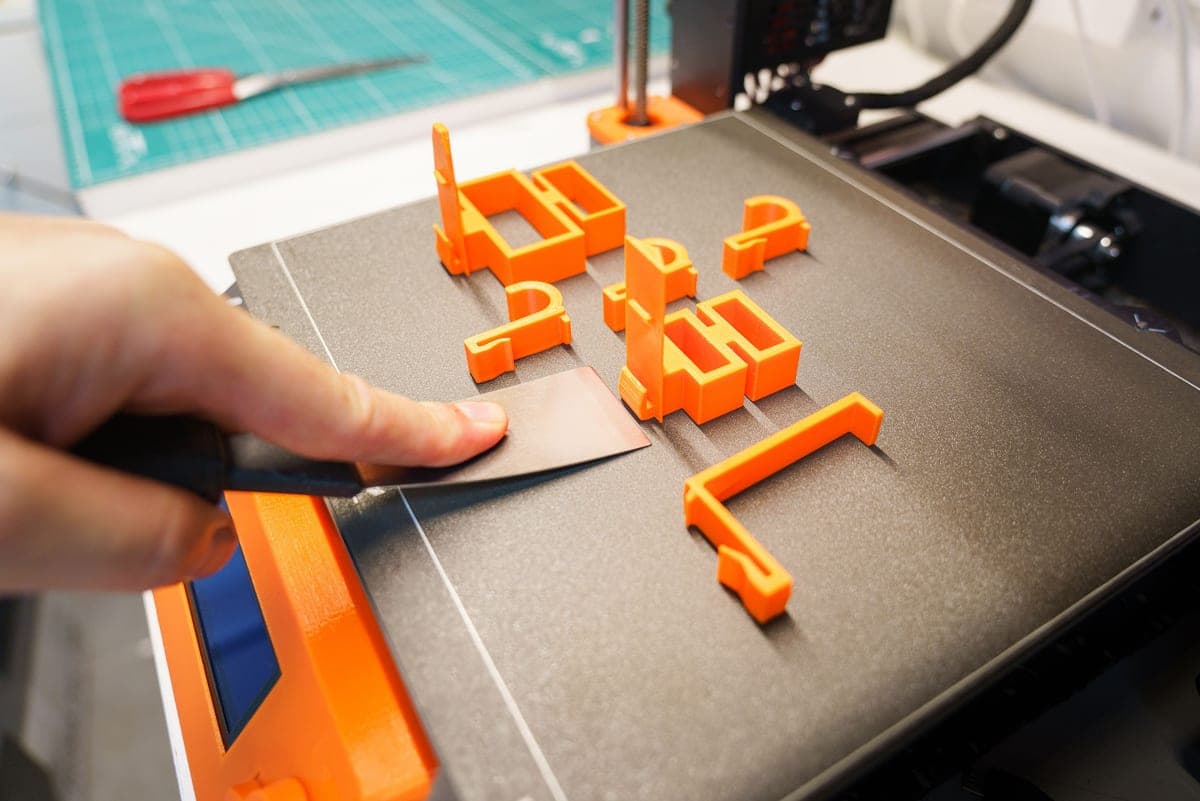
Guide
The Beginner Mistakes Worth Skipping
Twelve mistakes that cost first-time owners weeks — several of them purchases, not techniques.
Read the guide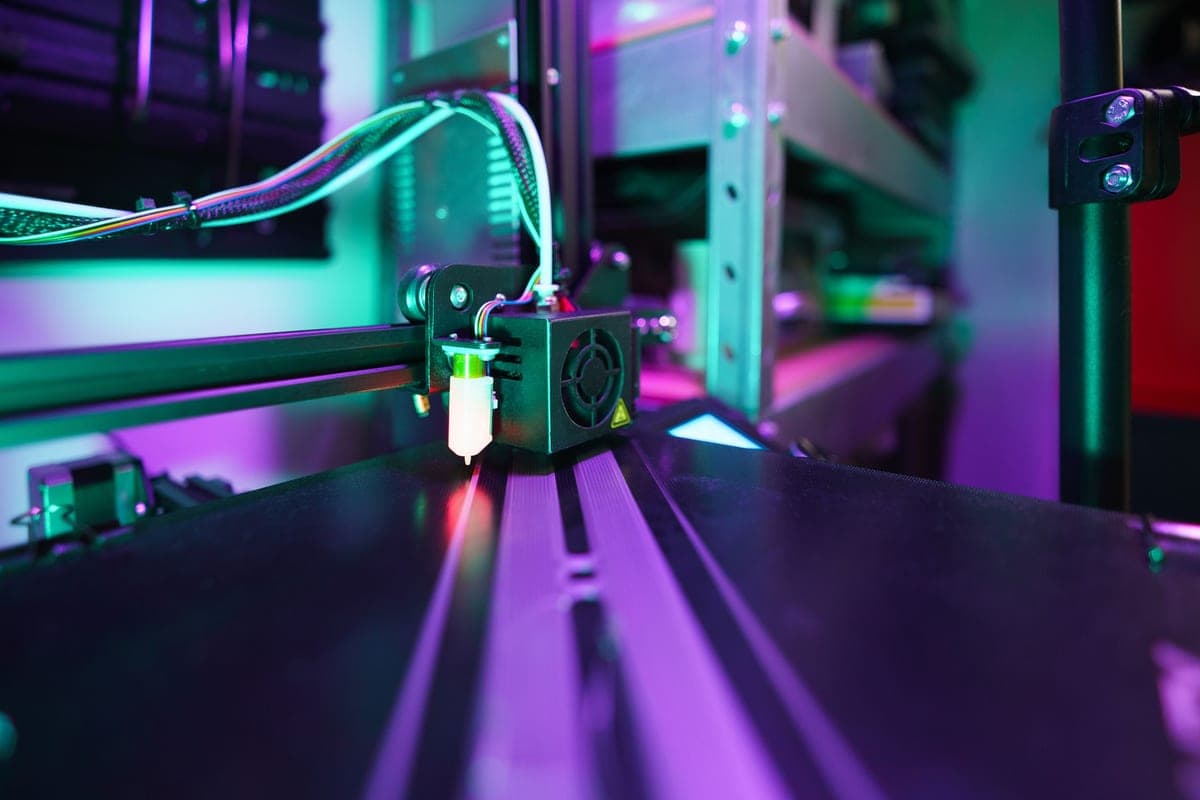
Guide
Bed Leveling and Z-Offset, Explained
What the two terms actually mean, and how to set the Z-offset by watching one line of plastic.
Read the guide
Guide
What Your First Month Actually Costs
An itemized first thirty days, including the electricity arithmetic worked from published wattage.
$13.98 - Check price on Amazon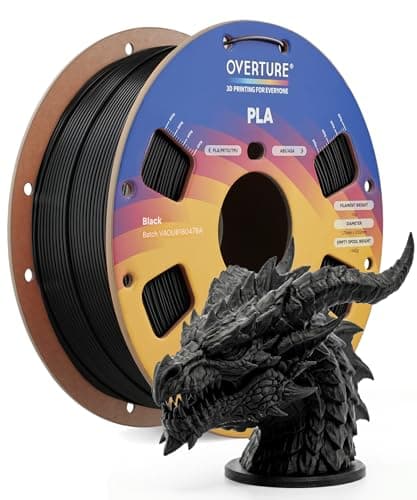 Featured: Overture PLA
#ad Price as of October 19, 2026, from Amazon. Prices change. How we make money.
Read the page
Guide
Where to Put Your 3D Printer
The surface, the draft problem, and a straight answer on whether a bedroom works.
Read the guide
Starter kit
What Actually Belongs in a 3D Printer Starter Kit
The four cheap things that prevent real failures, what to buy later, and what to skip.
$13.98 - Check price on AmazonTop pick: Overture PLA#ad Price as of October 19, 2026, from Amazon. Prices change. How we make money.
See our pick
Guide
Your 3D Printer Nozzle Is Clogged
Seven checks for a blocked nozzle, ordered cheapest and most likely first, plus the two habits that prevent the next one.
$99.44 - Check price on Amazon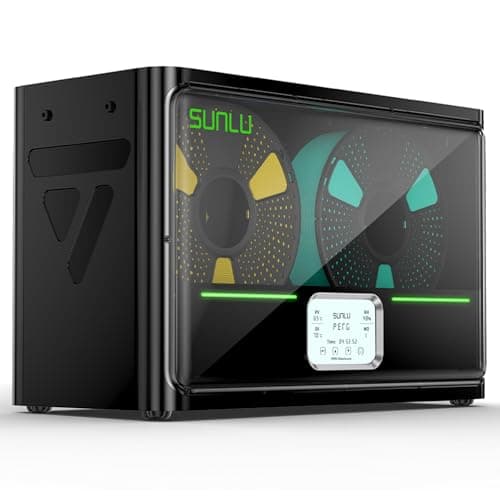 Featured: SUNLU FilaDryer S4
#ad Price as of October 19, 2026, from Amazon. Prices change. How we make money.
Read the page
Guide
How to Stop Your Prints Stringing
Six fixes for stringing in the order they actually work, starting with the one most guides put last: dry the filament.
$99.44 - Check price on AmazonFeatured: SUNLU FilaDryer S4#ad Price as of October 19, 2026, from Amazon. Prices change. How we make money.
Read the page
Guide
Are 3D Printers Hard to Use?
What is genuinely still hard about 3D printing, what stopped being hard, and the machines that removed the difficulty.
$249.00 - Check price on Amazon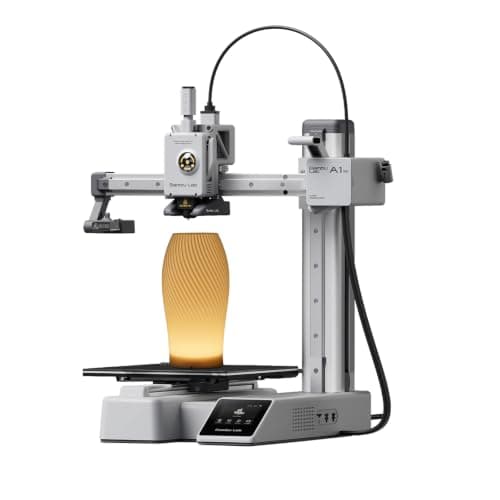 Featured: Bambu Lab A1 mini
#ad Price as of October 19, 2026, from Amazon. Prices change. How we make money.
Read the page
Best enclosure
3D Printer Enclosures
What an enclosure does and does not fix, which materials need one, and whether to buy a tent or an enclosed machine.
$48.99 - Check price on Amazon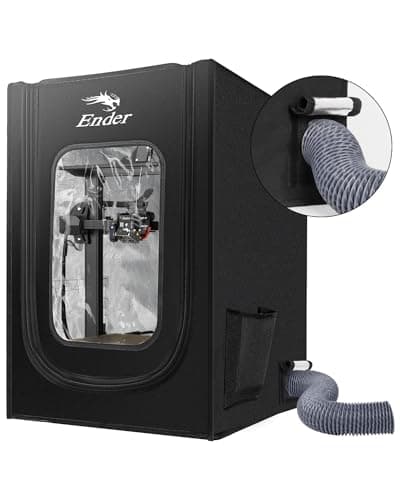 Top pick: Creality Multifunction Enclosure
#ad Price as of October 19, 2026, from Amazon. Prices change. How we make money.
See our pick
Guide
3D Printer Air Purifiers and Ventilation
What printers emit, when ventilation is enough, and the one purifier that publishes real figures.
$449.99 - Check price on Amazon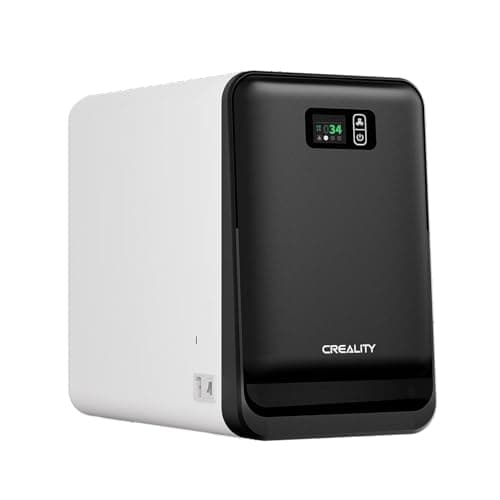 Featured: Creality Air Purifier (FDM version)
#ad Price as of October 19, 2026, from Amazon. Prices change. How we make money.
Read the page
Guide
Is a 3D Printer Bundle Worth It?
What bundles actually include, which extras earn their place, and when buying the printer alone is cheaper.
$299.99 - Check price on Amazon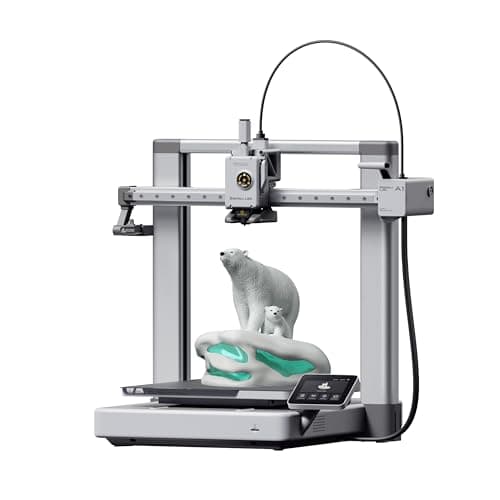 Featured: Bambu Lab A1
#ad Price as of October 19, 2026, from Amazon. Prices change. How we make money.
Read the page
What the first month costs
More than the printer and less than people fear. There is the machine, at least two spools of filament, and a short list of small items that prevent specific failures. Then there is electricity, which is the part nobody itemizes and which turns out to be trivial: we work it out from the manufacturer’s own rated power and the current published US residential electricity price on the setup cost page, with the arithmetic shown so you can substitute your own rate.
Where beginners get stuck longest
Bed adhesion, by a distance. It is the subject of our longest page for that reason, and it is split by machine and by material because that is how people actually experience it — the fix for a Bambu A1 with a textured plate is not the fix for an Ender with a smooth one, and neither is the fix for PETG.
Second is the Z-offset, which is genuinely confusing until someone explains that it is one number describing how far the nozzle sits from the plate, and that almost every first-layer complaint is that number being wrong by a fraction of a millimeter.
Third is a category rather than a problem: doing something the community treats as obvious that nobody wrote down. That is what the beginner mistakes page is for.
When it is working
Go and print something you want. The fastest way to stop enjoying a new printer is to spend three weeks calibrating it and never make anything. What to print first is the next stop, and it is ordered by how much each print teaches you per gram of filament.
The accessories people ask about
Three purchases come up constantly, and the honest answer to two of them is “probably not yet”. An enclosure traps heat and dust, not fumes — useful in a cold or drafty room, and the wrong product if you bought it to make the air safe. An air purifier is worth it for ABS and ASA and rarely for the PLA most beginners actually print; ventilation is free and does more.
The third is whether to buy the printer on its own or as a package. Bundles versus buying separately works through which extras you will genuinely use in the first month and which will sit in a drawer, with the two-minute test for pricing one up.